

Key Takeaways
- To get the most out of your watch, complete the setup tasks recommended by Garmin.
- To use Garmin’s safety tools, enter your emergency contact information.
- Customize your goals, activity profile, data views and overview to make it personal.
Getting your new Garmin watch is an exciting moment. These high-performance devices offer many features and customization options to help you progress and work toward your goals with a focus on fitness and overall health. But all of these features require a little bit of setup. It can be hard to know what’s worth doing right away and what you can skip.
When you turn on your new Garmin watch for the first time, you’ll be asked to set up some essentials, including settings that will help you use your watch and data that helps Garmin build a baseline for its health and fitness tools. The specific setup varies by watch, but required steps typically include choosing your language, entering your height and weight, bedtime and wake-up times, which wrist you wear your watch on, and pairing with the Garmin Connect app.
-
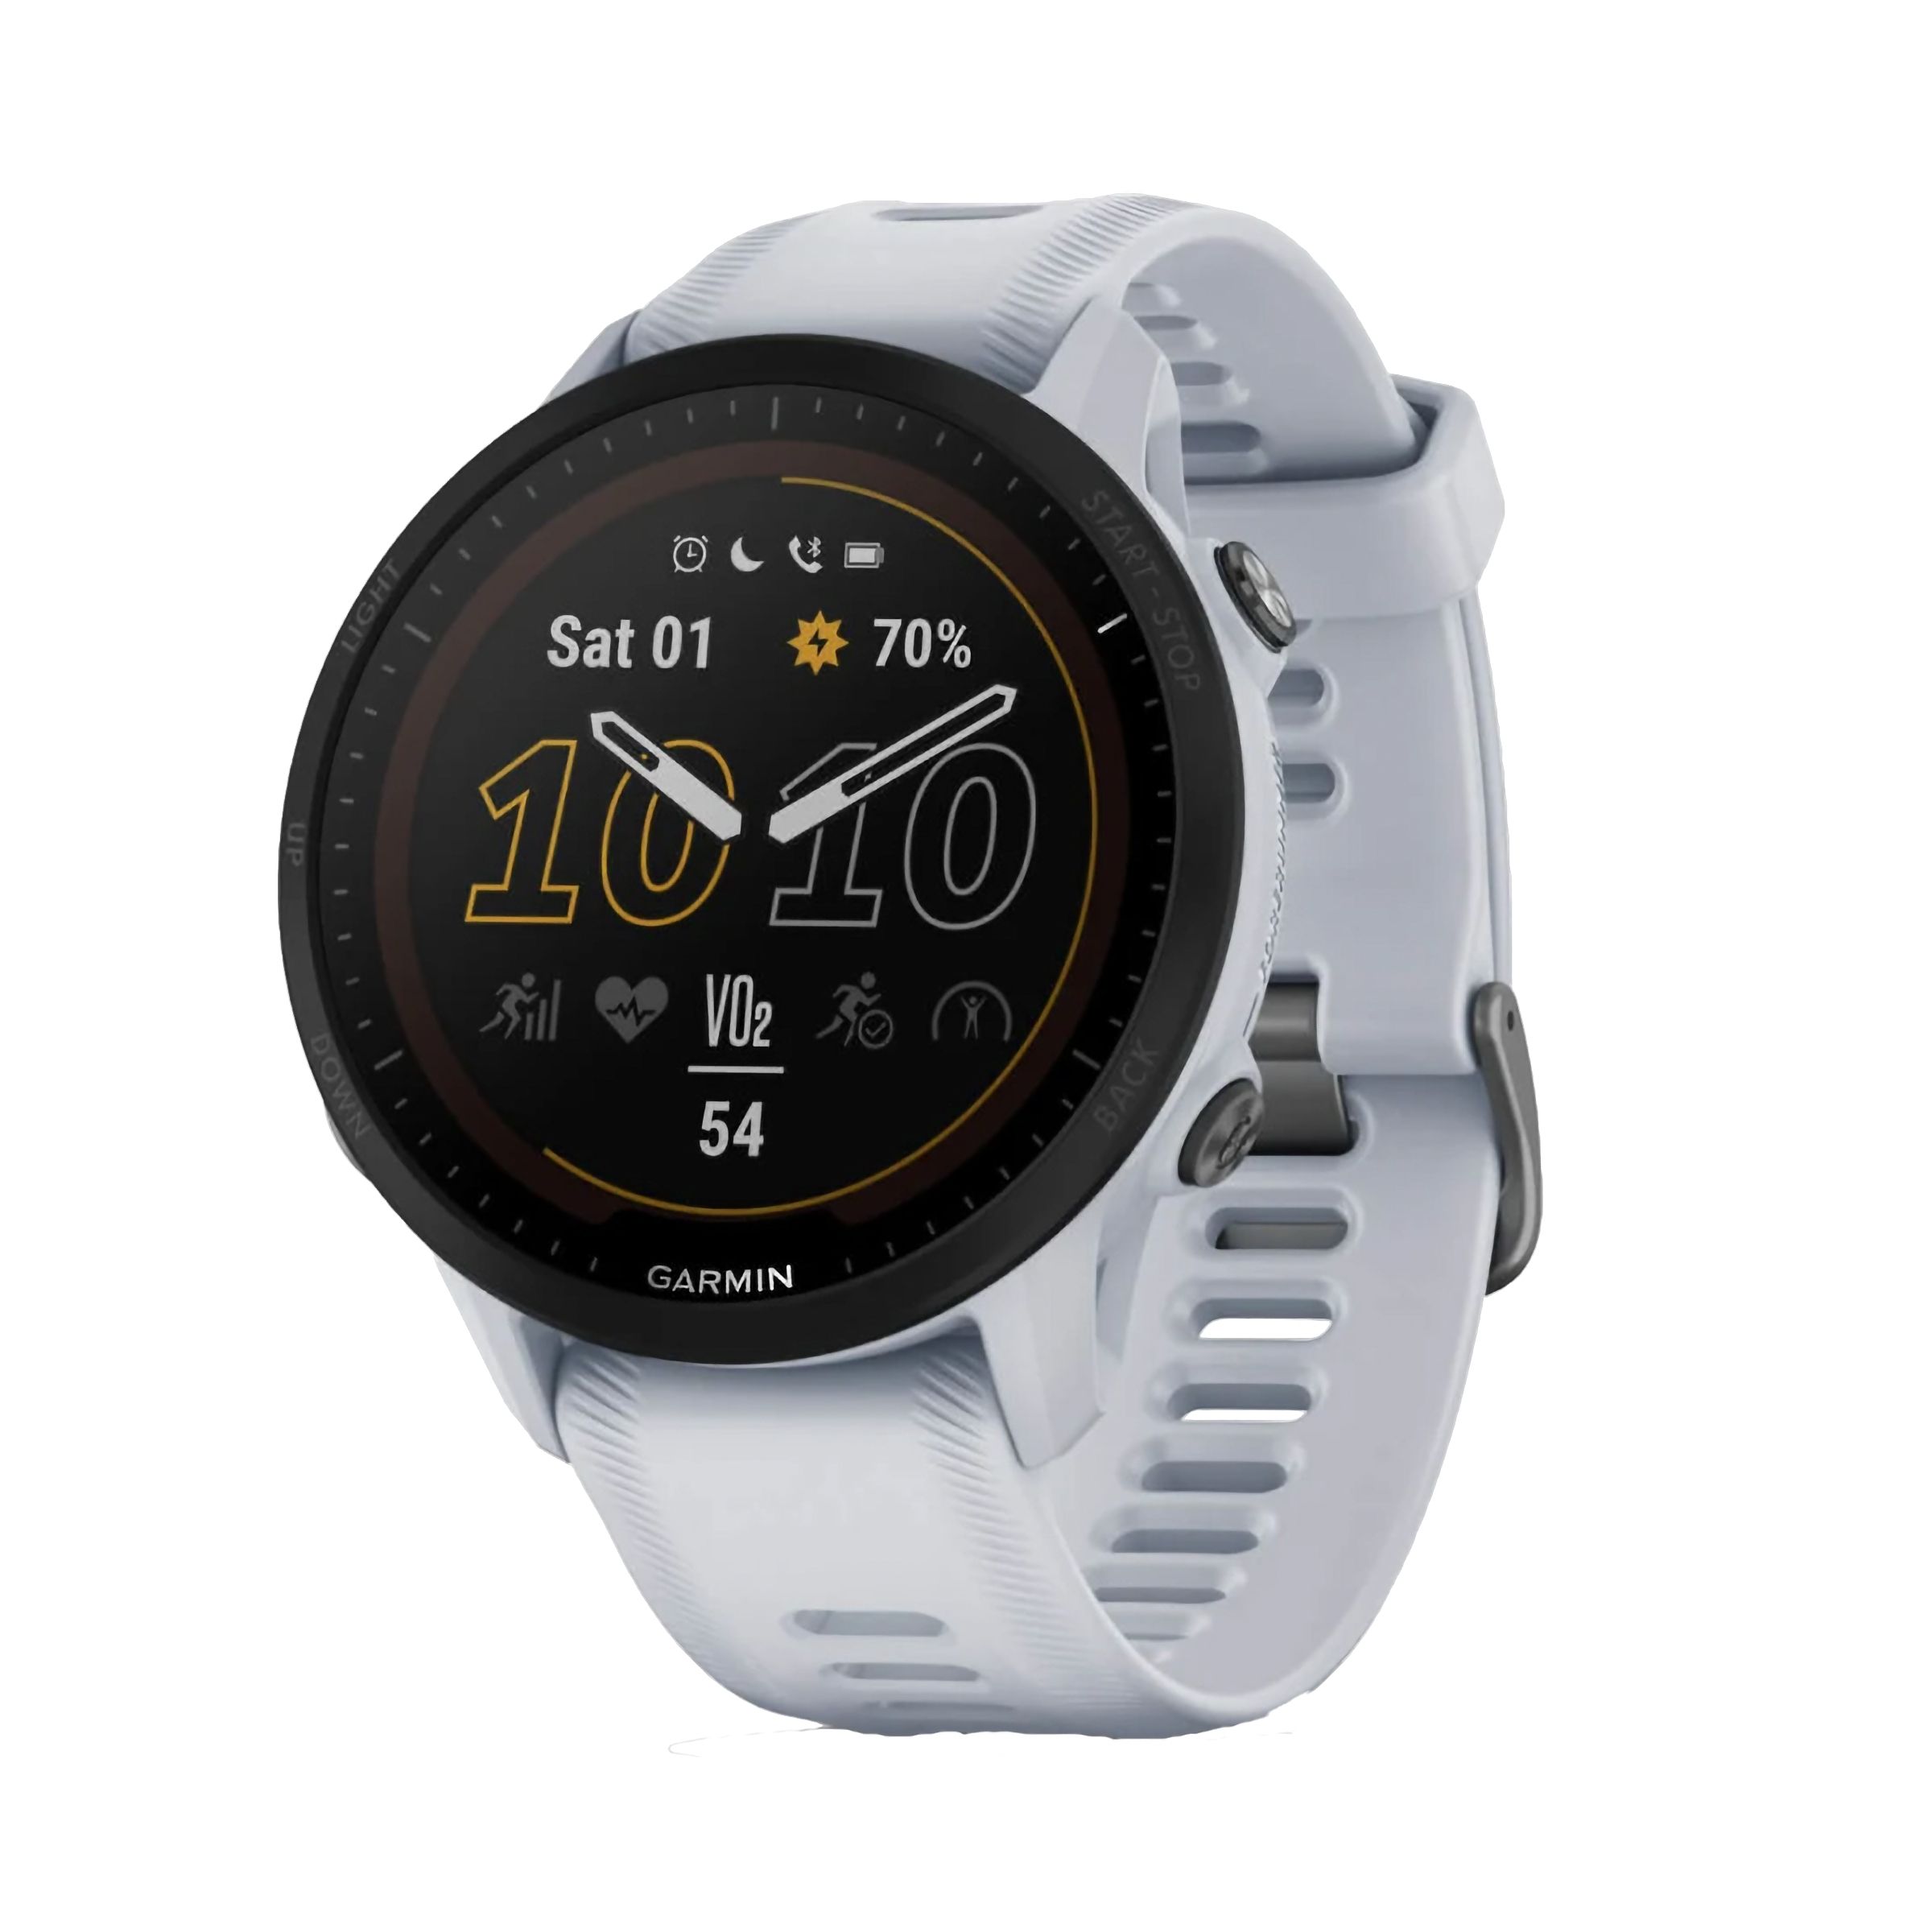
Garmin Forerunner 955 Solar
The Garmin Forerunner 955 Solar is an advanced running watch packed with useful features for anyone who puts their training first.
-
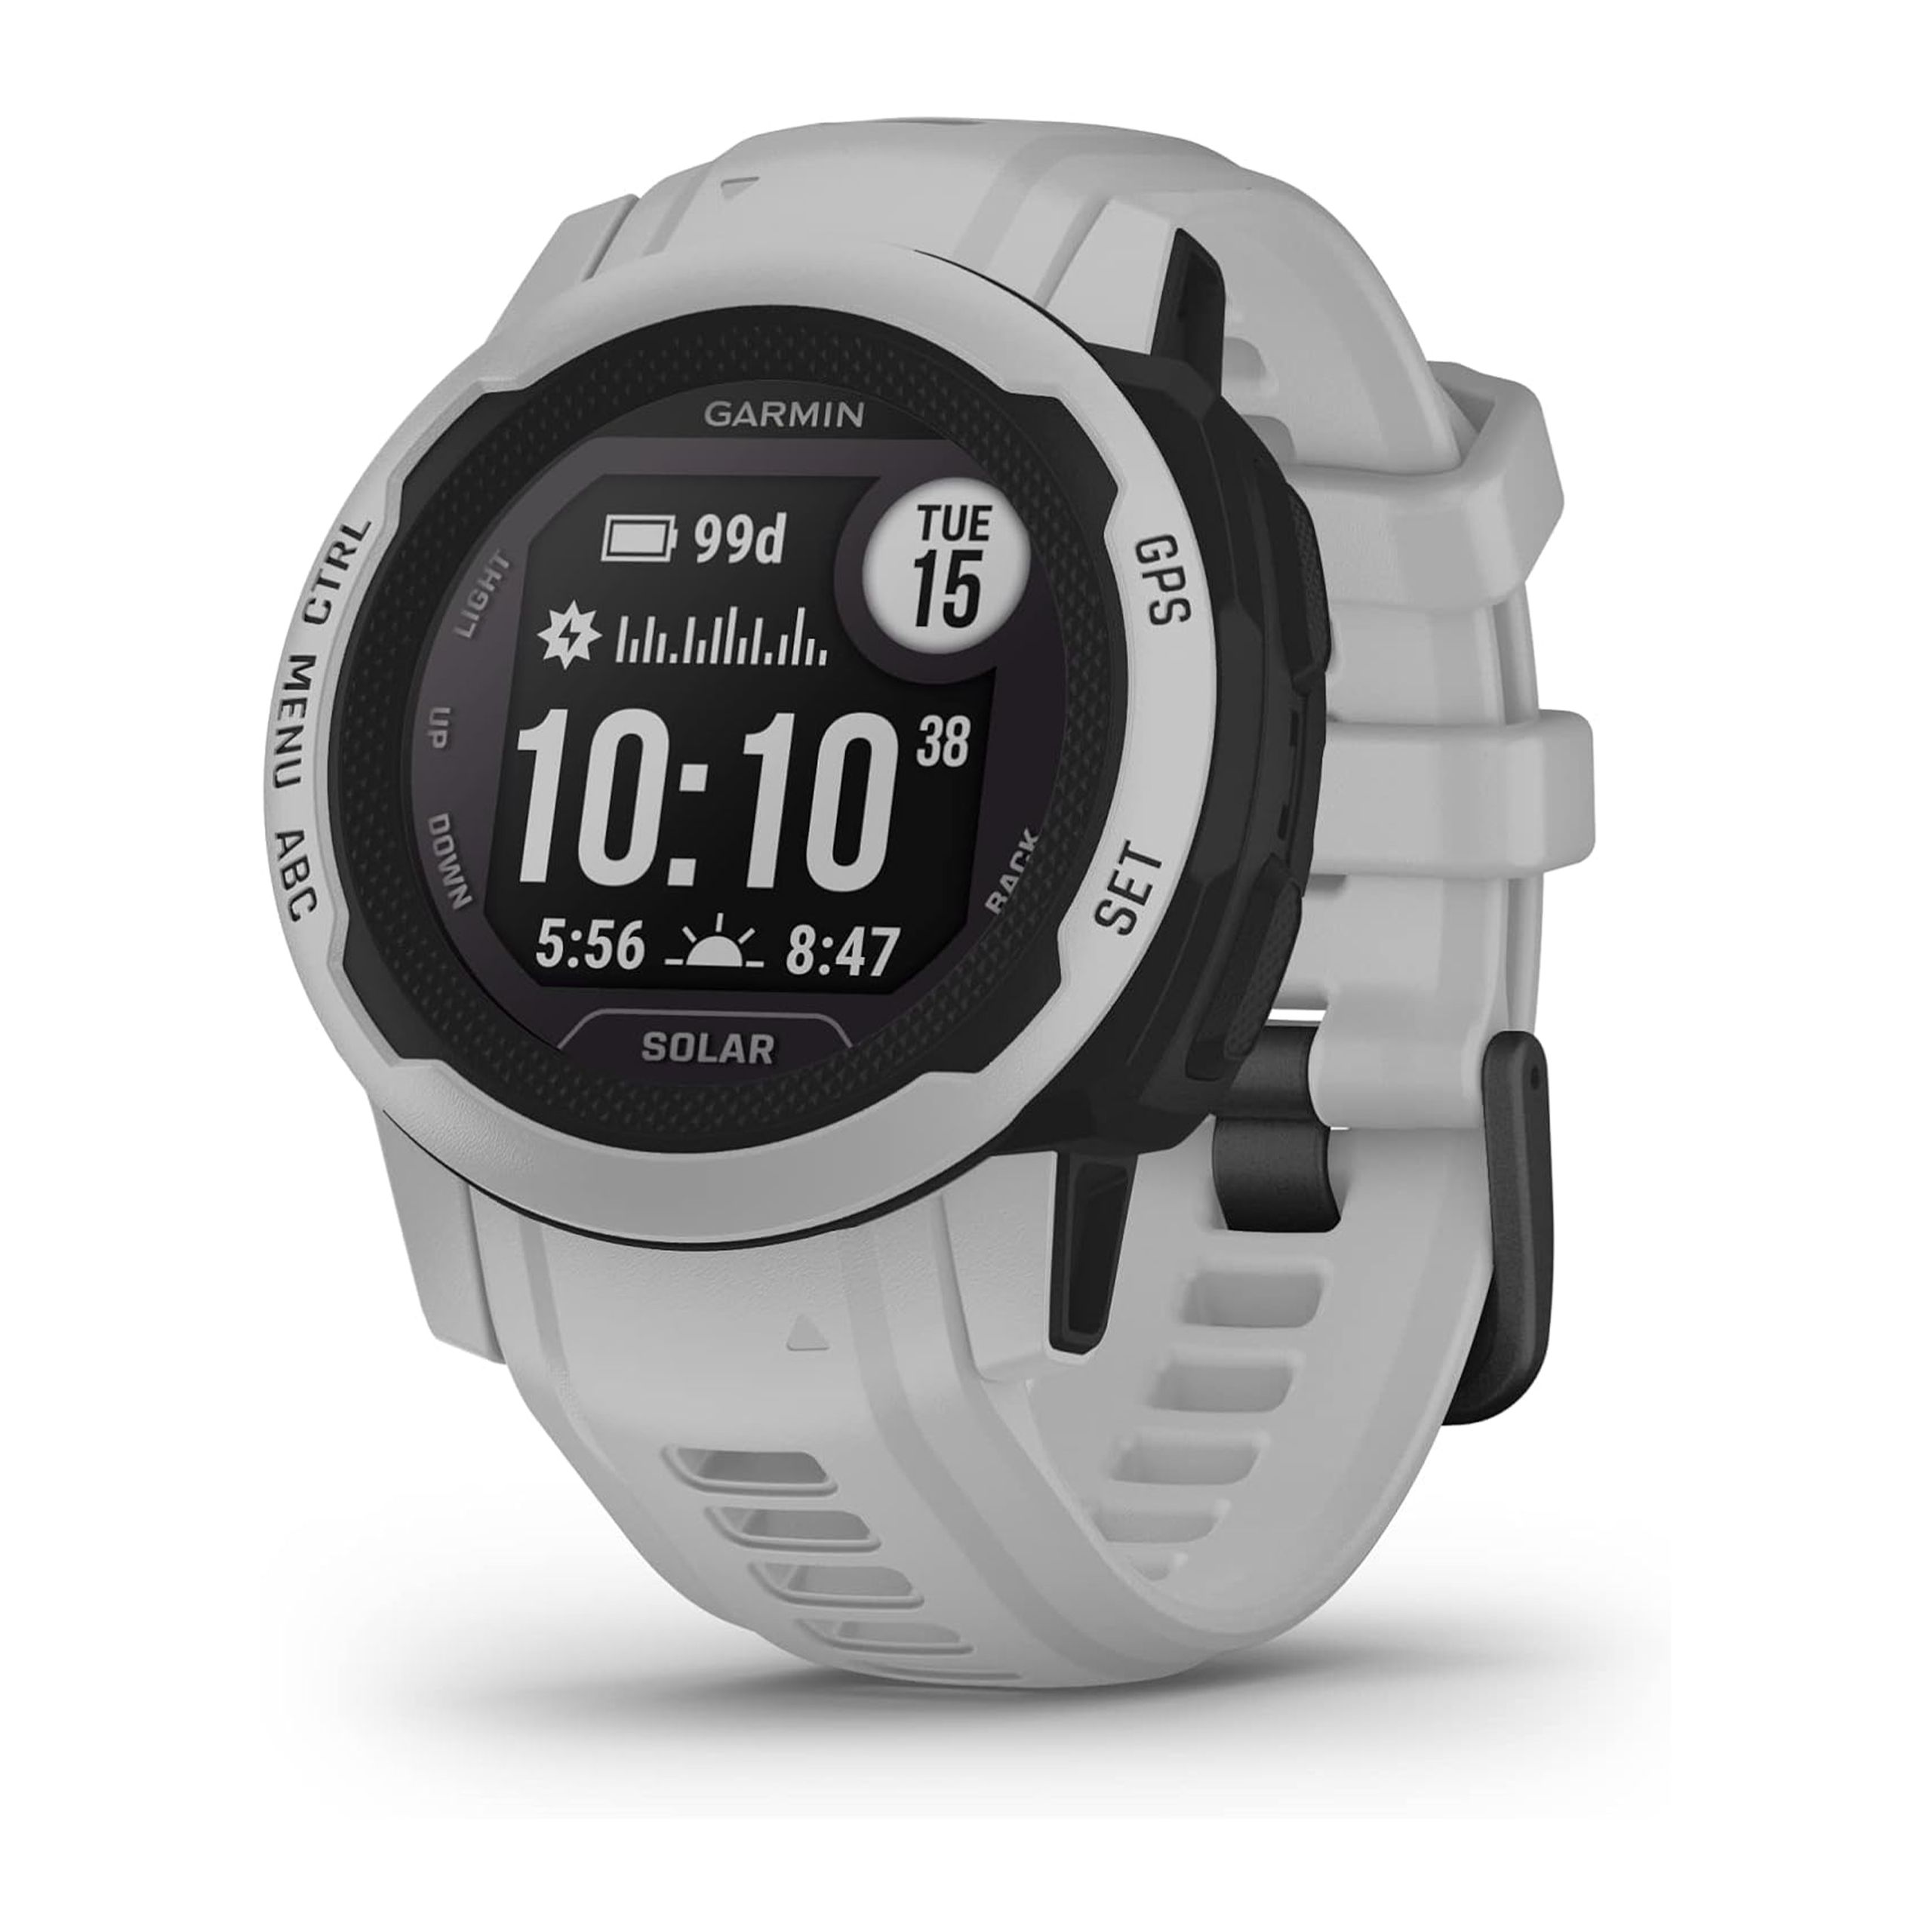
Garmin Instinct 2S Solar
The Garmin Instinct 2S Solar is a compact adventure watch with long battery life and a small form factor that fits smaller wrists.
-

Garmin Epix Pro (2nd Gen) Sapphire Edition
The Garmin epix Pro Gen 2 Sapphire Edition is a rugged outdoor watch that’s ready for any situation.


1 Complete Garmin’s recommended setup steps
Complete these tasks first

Once you’ve completed all the tasks it guides you through when you turn on your watch for the first time, the Garmin Connect app will suggest some optional items to help you get the most out of your new watch. Depending on your Garmin watch, the app will present a list of settings items, such as Garmin Pay, Wi-Fi, music and LiveTrack. These should all be completed in the app, not on your watch, although some steps may require your watch as well. Garmin walks you through each step to make the process easy.
You don’t have to complete these optional tasks right away, but the app will remind you later if you don’t complete them. After the first reminder, you can turn off future reminders, but it’s best to complete all setup tasks right away so you can get more out of your watch.
Make safety your number one priority with your new watch

We all hope that nothing bad will happen while we’re out and about, but it’s better to be prepared. Many Garmin devices have an incident detection feature that can detect if you’ve had a collision or fall. Then, if you have your phone with you, your Garmin will send a message to emergency contacts with your current location. You can also manually alert emergency contacts if you find yourself in a dangerous situation and need to subtly call for help.
However, to use the safety features, you must first enter your emergency contact information. Here’s how to enter your emergency contact information:
- open Garmin Connect App.
- choice more It’s in the bottom right corner.
- choice Safety and Tracking.
- choice Safety Features.
- If prompted, agree to the requirements for using Incident Detection.
- choice My information. Enter your information and use the back arrow to return to the previous screen.
- choice Emergency Contact.
- choice Add emergency contacts.
- Select a contact Connect or phone List or Create a Connect contact.
- Enter the contact’s information or select the preferred contact method for an existing contact.
- choice Submit a requestThis will open your phone’s messaging app and send a message to your contact, who can then opt-in to receiving text messages from Garmin about the Incident Detection feature.
3 Customize your goals
You don’t have to be tied to Garmin goals

Having access to your goals on your watch can be a great help in staying active. Garmin automatically sets daily step goals, floors climbed goals and weekly intensity goals, but these may not fit your needs or lifestyle.
The Auto goal feature is enabled by default for your daily steps, allowing you to change your goal depending on your step trend upon syncing. However, you can change this to a specific number if you value consistency. Similarly, you can adjust your floors climbed and weekly intensity goals to make them more personalized to your needs. To adjust your goals, follow the steps below:
- open Garmin Connect App.
- please select Device Icons In the top right corner, click more in the bottom right corner. Garmin devices.
- Select your watch from the list of devices.
- Please choose according to your model Activity tracking, User Settingsor Health and Wellness.
- under the goalYou can edit Daily steps, Weekly exercise intensityand The number of floors climbed each day.
- Synchronization Your Garmin watch.
4 Adjust your activity profile
Set up the activities you want to participate in
Garmin watches come preloaded with a variety of activity profiles to track common sports and workouts. These usually include running, walking, hiking, cycling, and more. However, depending on your watch, you may have access to many more profiles beyond those that are preloaded. So, if you take part in a less common activity, you won’t necessarily be unable to find a profile to track it.
Of course, the list of options isn’t endless and will vary depending on the specific Garmin model. But most models offer all of the most common activities, as well as some more niche ones. For example, the Garmin Lily 2 offers a dance profile dedicated to different types of dancing. You’ll find all kinds of team sports, racquet sports, motorsports, and more. Some models even offer profiles for gaming and eSports.
Adding and reordering activity profiles on the fly means you don’t have to fumble around trying to add an activity just before you start it. Speaking from experience, it’s not much fun, especially when you find out there’s no profile for that activity. To adjust an activity profile in the Garmin Connect app, follow the steps below. If you’d prefer to make changes on your watch, check out the following articles for more info:
- open Garmin Connect App.
- please select Device Icons In the top right corner, click more in the bottom right corner. Garmin devices.
- Select the Garmin device you want to add a new activity profile to.
- choice Activities and Apps.
- Scroll down and select addition.
- Synchronization Your Garmin watch.
5 Change the data screen
Customize what you see during your workout

Once you’ve set up the activities you want to track, it’s also a good idea to customize what you see during the activity. Garmin allows you to customize your workout data screens so you can see the information you need up front. For example, the default Walk profile didn’t show the current time on the first data screen, but walking the dog often requires you to be back at a specific time, so being able to see the time at a glance is important. Luckily, I was able to customize the activity to show the time on the first data screen.
Customizing your data screen allows you to tailor the information you have access to for each of your activities. This can improve the quality of your workouts, so it’s worth doing as soon as you get your new Garmin watch. To customize your data screen:
- Hold above Garmin watch buttons.
- choice Activities and Apps.
- Select the activity you want to customize.
- Choose an Activity setting.
- choice Data Screen.
- Scroll to the data screen you want to customize, Start | Stop button (top right).
- choice Layout Adjust the number of data fields on the data screen, or Data Fields These fields change the data that is displayed. Sorting Change the position of the data screen in the loop or remove Remove it from the loop.
- If you want to create your own from scratch, New additions Customize it to add to your loop.
6 Customize your Glance
Bring the information you need to the forefront

When you scroll down from the watch face (main display) on your Garmin watch, you’ll see a variety of glances, also known as widgets. These can share health and fitness information, smartwatch notifications, and more. However, the default options might show you stats you don’t need. Or you might want different information to appear at the top so you don’t have to scroll down every time you see something you need. For example, I frequently check the weather on my Garmin watch, and I needed to tweak the widget to display the weather app at the top for faster access.
Fortunately, the order of these widgets and what they display are highly customizable. Customize these widgets as soon as you get your watch and you’ll instantly have a better experience. To adjust your widgets, follow the steps below:
- open Garmin Connect App.
- please select Device Icons In the top right corner, click more in the bottom right corner. Garmin devices.
- Select your Garmin watch.
- choice exterior.
- choice Gaze or Widgets.
- choice edit.
- Scroll down Available or Not installed Tap a section plus Tap to add it to your device. Depending on your device, you may need to select the widget and tap it. install.
- To delete a glance, minus To the left of Glance’s name.
- To rearrange the gazes, tap and drag the two lines on the right to the desired position.
- Synchronization your device.
7 Link your watch to another account
Connect to Strava, TrainingPeaks, and more

Garmin’s platform offers many useful health and training tools, but it’s not an all-in-one fitness app: Garmin watches can connect to several third-party apps, so all the information you log is shared with other relevant places.
For example, if you want the social component of Strava, you don’t need to track your activities on Strava and your Garmin watch — just connect the two and your activity data will automatically upload to Strava when your watch is synced. Similarly, if you work with a coach on the TrainingPeaks platform, your Garmin watch will automatically sync so your coach can see your workout data without having to manually enter it.
- open Garmin Connect App.
- choice more It’s in the bottom right corner.
- choice setting.
- choice Connected Apps.
- The app you want to connect Available apps section.
- choice agree.
- choice Link your accounts or ApprovalYou may be asked to sign in to the app.