Key Takeaways
- Use touch, the Digital Crown, gestures, and companion apps to efficiently navigate your Apple Watch.
- You can customize Apple Pay on your Watch for more than just payments, including transportation and rewards cards.
- Use the Mirror iPhone setting to ensure your Apple Watch and iPhone are always in the same status and mode.
If you’ve decided to take the plunge and buy a new Apple Watch, you’ll probably be rushing to set it up right away. Once you’ve done that, there are a few things you should do right away on your Apple Watch. Then you can start getting used to features you didn’t know your Apple Watch had. Some of these features are long-standing, time-honored features, while others are new features just released in watchOS 11. Either way, we’re here to help. Here are some helpful tips and tricks to know as you get set up and familiar with your new Apple Watch.
Related
How to use your Apple Watch like a pro
There are four main ways to interact with your Apple Watch: the touchscreen, the Digital Crown and button, gestures, and the companion app.
1 Set up more with Apple Pay
It’s not just about payments
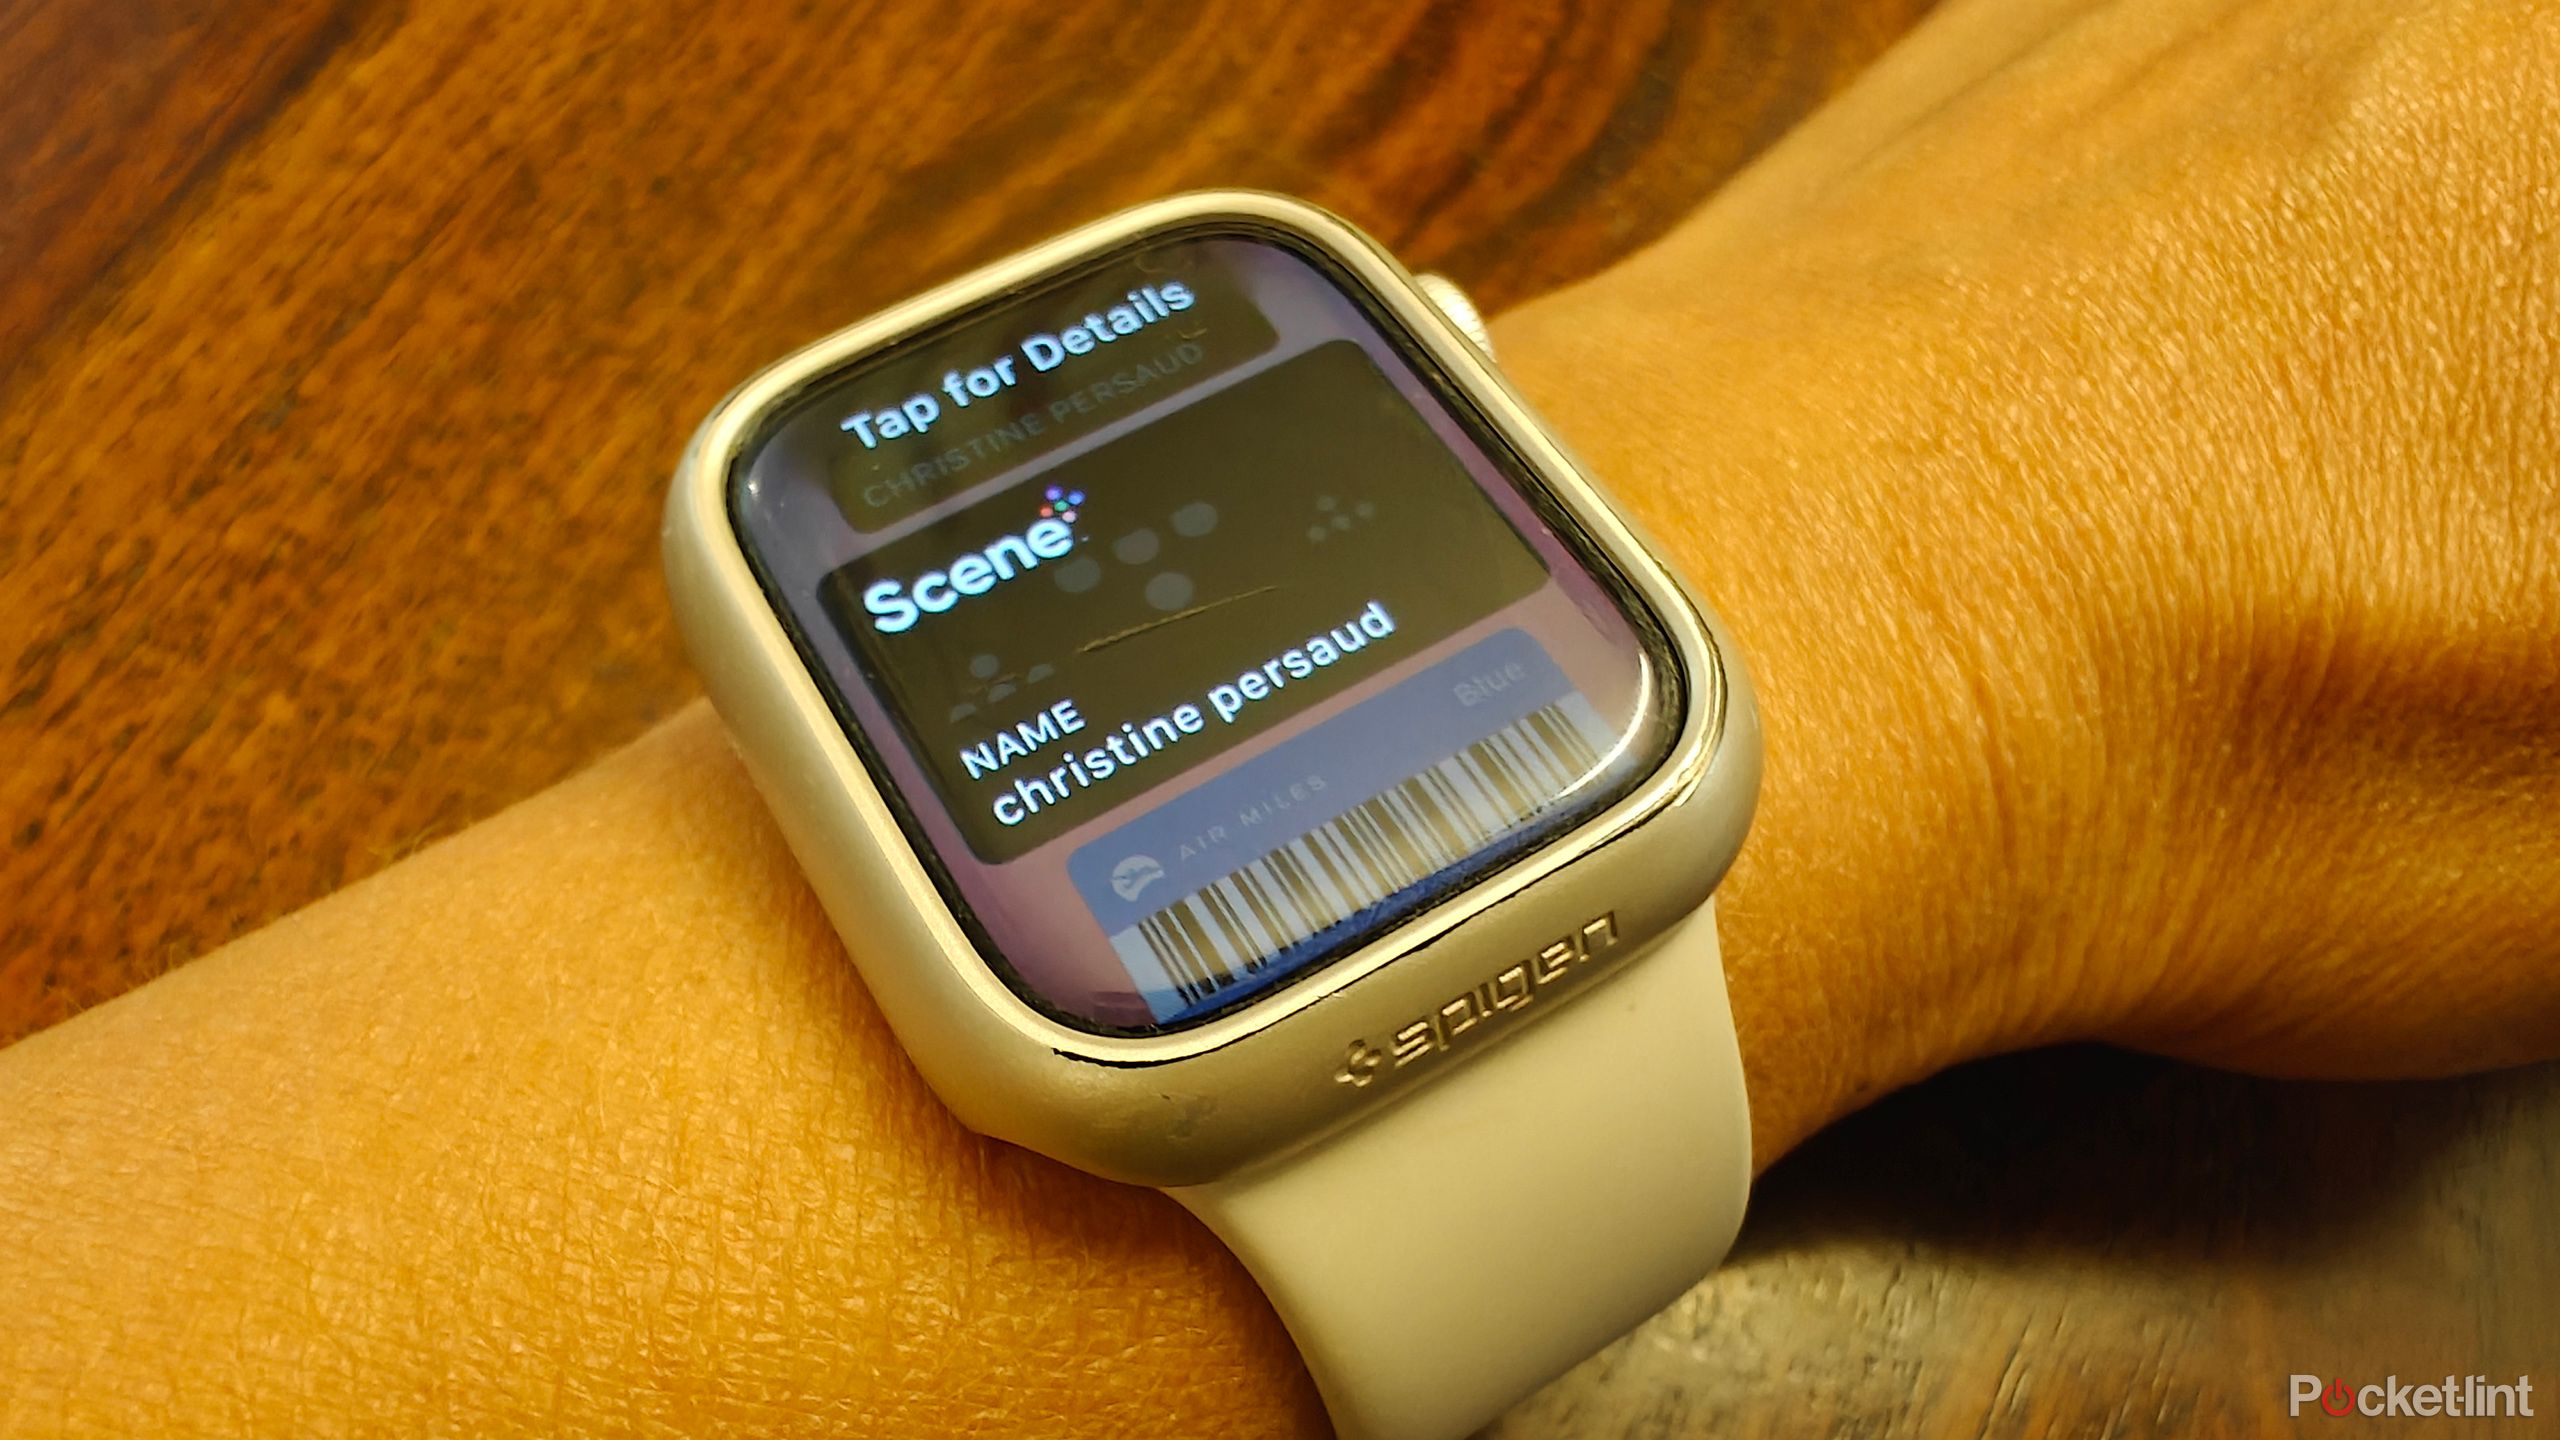
Most people know that you can set up Apple Pay on your Apple Watch to pay for items right from your wrist. You can also set up access to certain IDs, loyalty cards, membership cards, event tickets, and even boarding passes. But if you dig deeper into the Apple Wallet options on your Apple Watch, you can also set up Express Transit cards. Select a payment card to pay for rides on compatible transit agencies, and the payment will automatically begin when you bring your Apple Watch close to the card. Yes, you don’t even need to open Apple Wallet by double-clicking the side button or selecting the Apple Wallet app. Just hold your Apple Watch near a supported transit reader and it will work. This is especially useful if you want to use a supported prepaid card from your local transit agency instead of your default credit card. You can set up any kind of payment card or other card in Apple Wallet from your iPhone or the Watch itself.
When using transport, choose your preferred payment card.
- open Watch App On iPhone.
- select My Watch.
- Scroll Down Wallet and Apple Pay.
- select Express Transit Card Select the loaded payment card you want to use.
2 Put on silent mode
Quiet Notifications
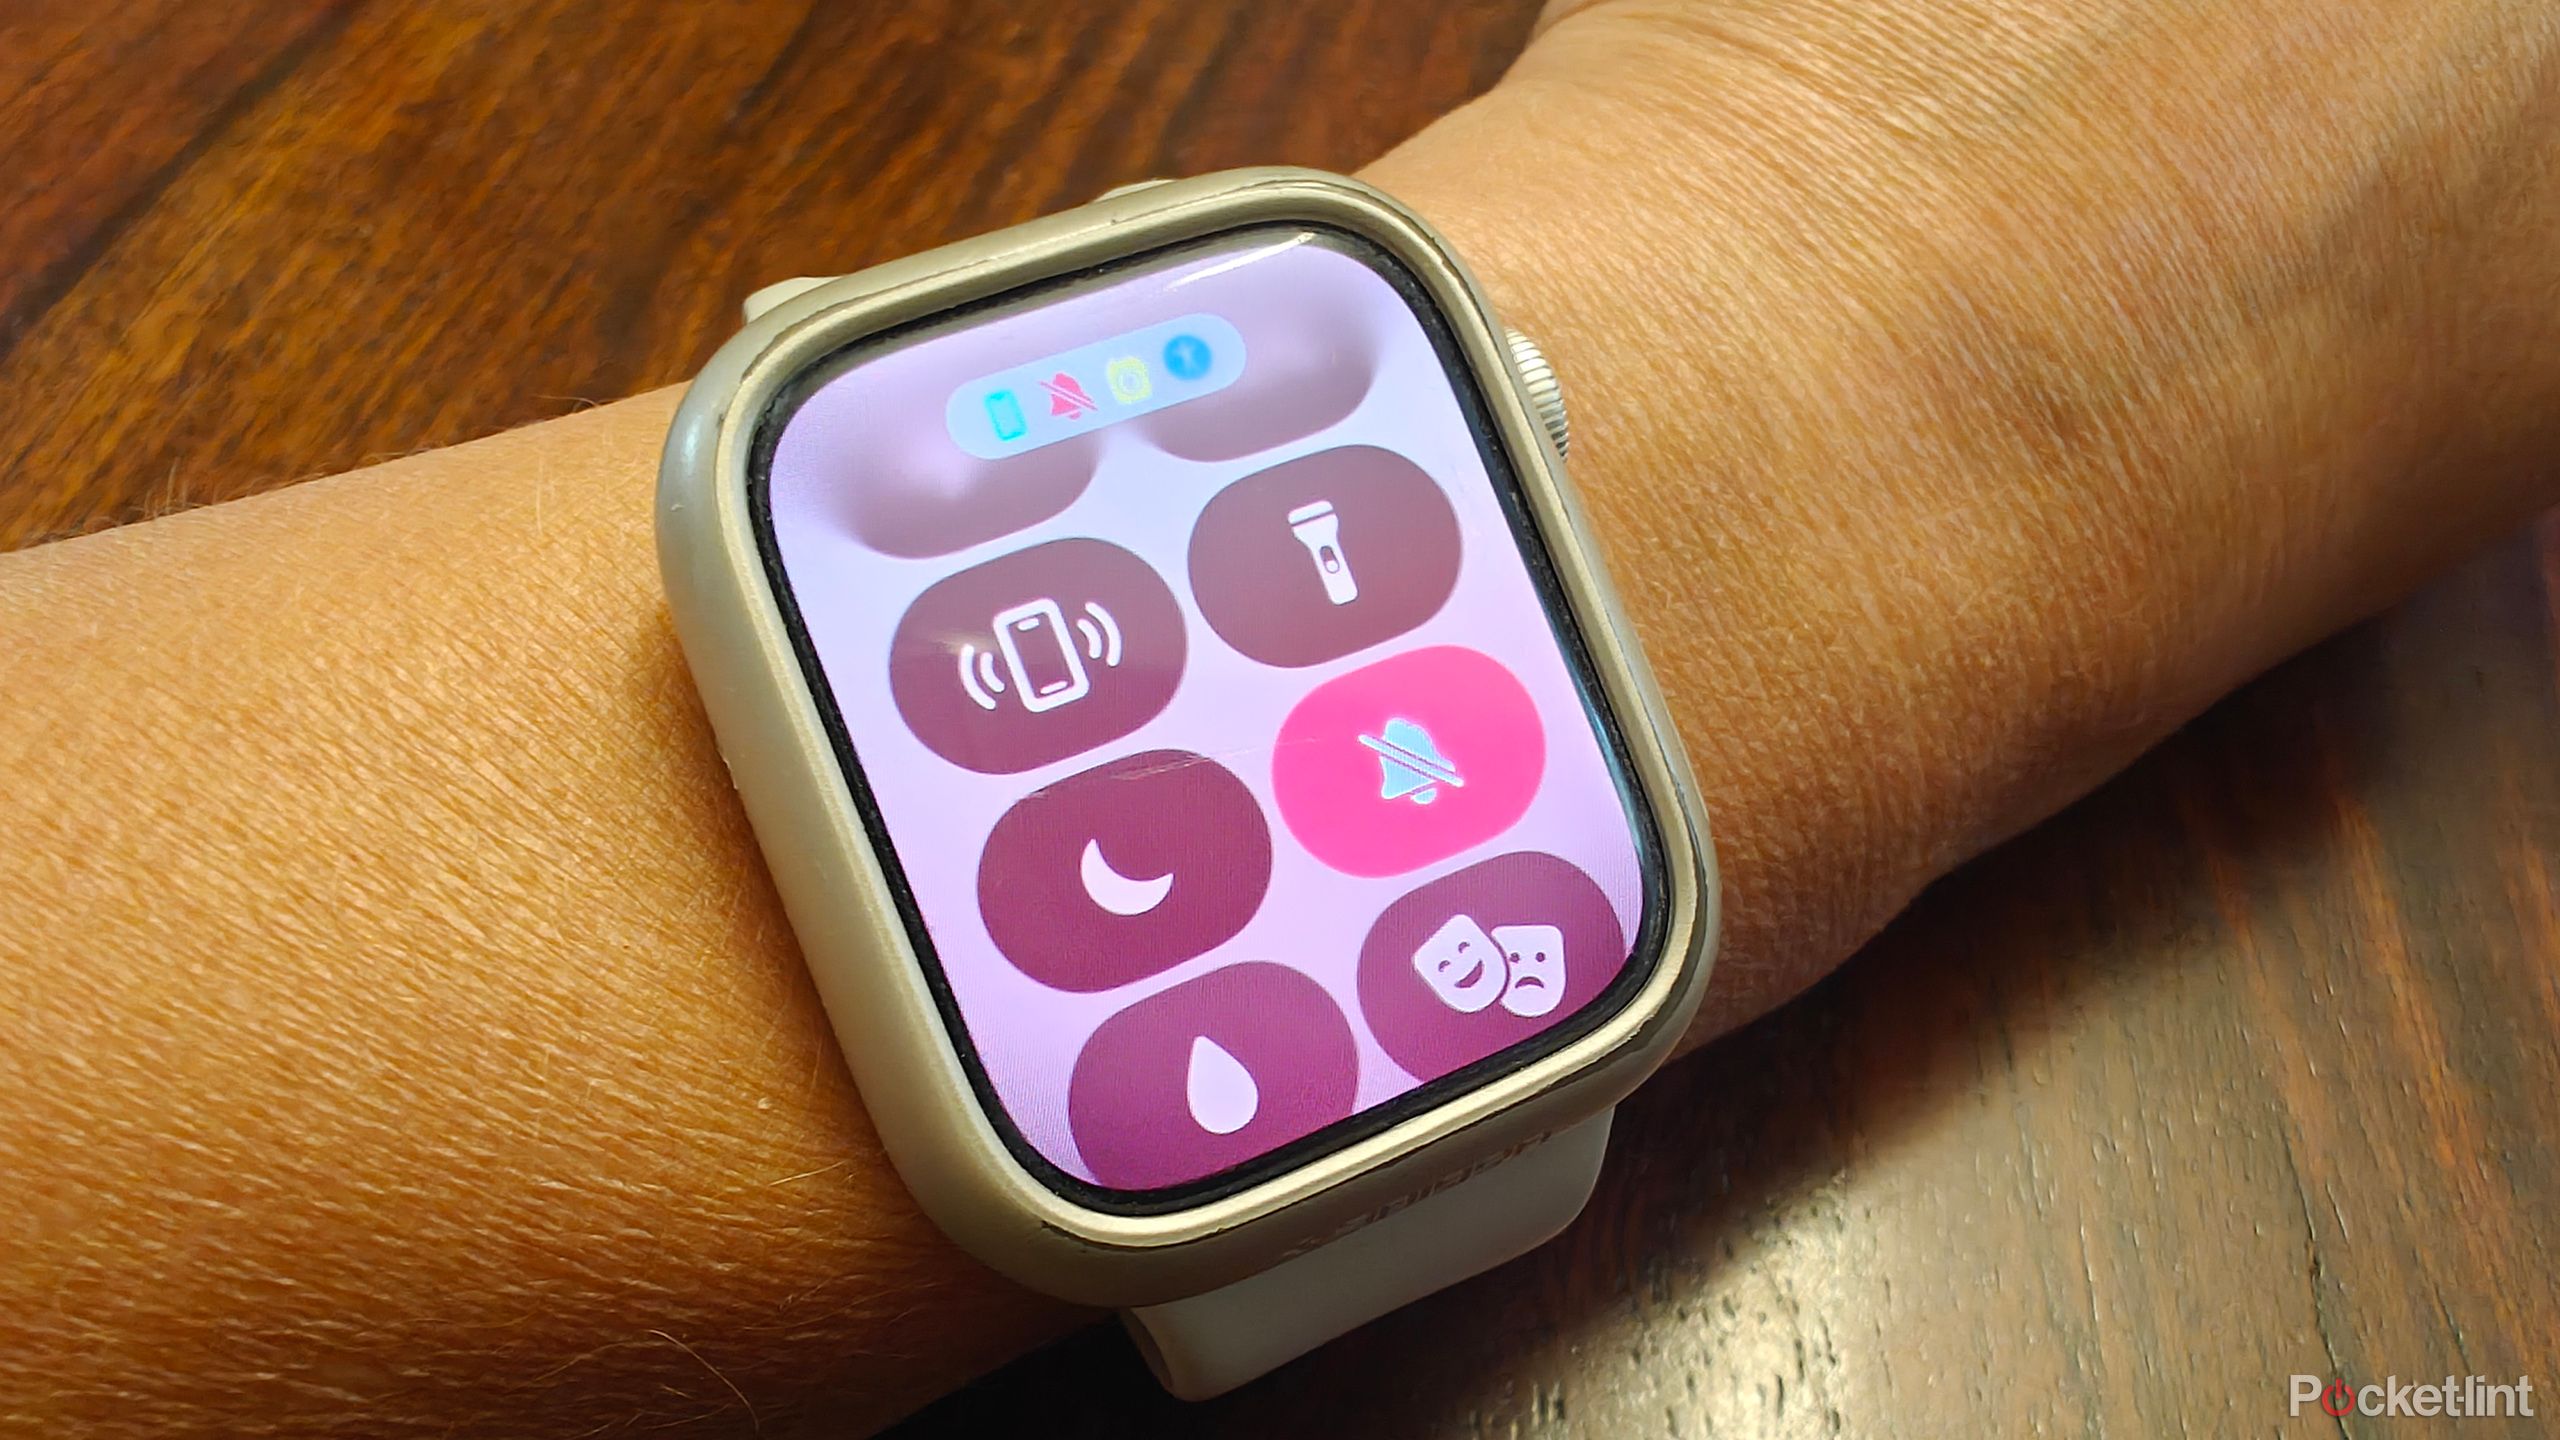
Since getting my Apple Watch, I’ve almost always kept it on silent. You still receive notifications and alerts that you have a notification, but they come as a slight vibration on your wrist instead of a sound. While you might prefer audible alerts, if you have lots of apps and notifications set up, they can be distracting. The vibrations are just as noticeable when the Watch is on silent, which can also prevent the embarrassing mess of your Watch starting to ring in the middle of a meeting.
- Tap Side buttons On Apple Watch.
- choose Bell IconA line will appear across your watch and it will turn red to indicate that it’s on Do Not Disturb, and you’ll see a notification at the top of your Watch screen that says “Do Not Disturb: On.”
- Tap again Turn it off.
Related
Apple Watch SE 3: What we know about the next generation of budget watch
Apple may make its next budget product even more affordable.
3 Select Mirror iPhone
Working together as a team
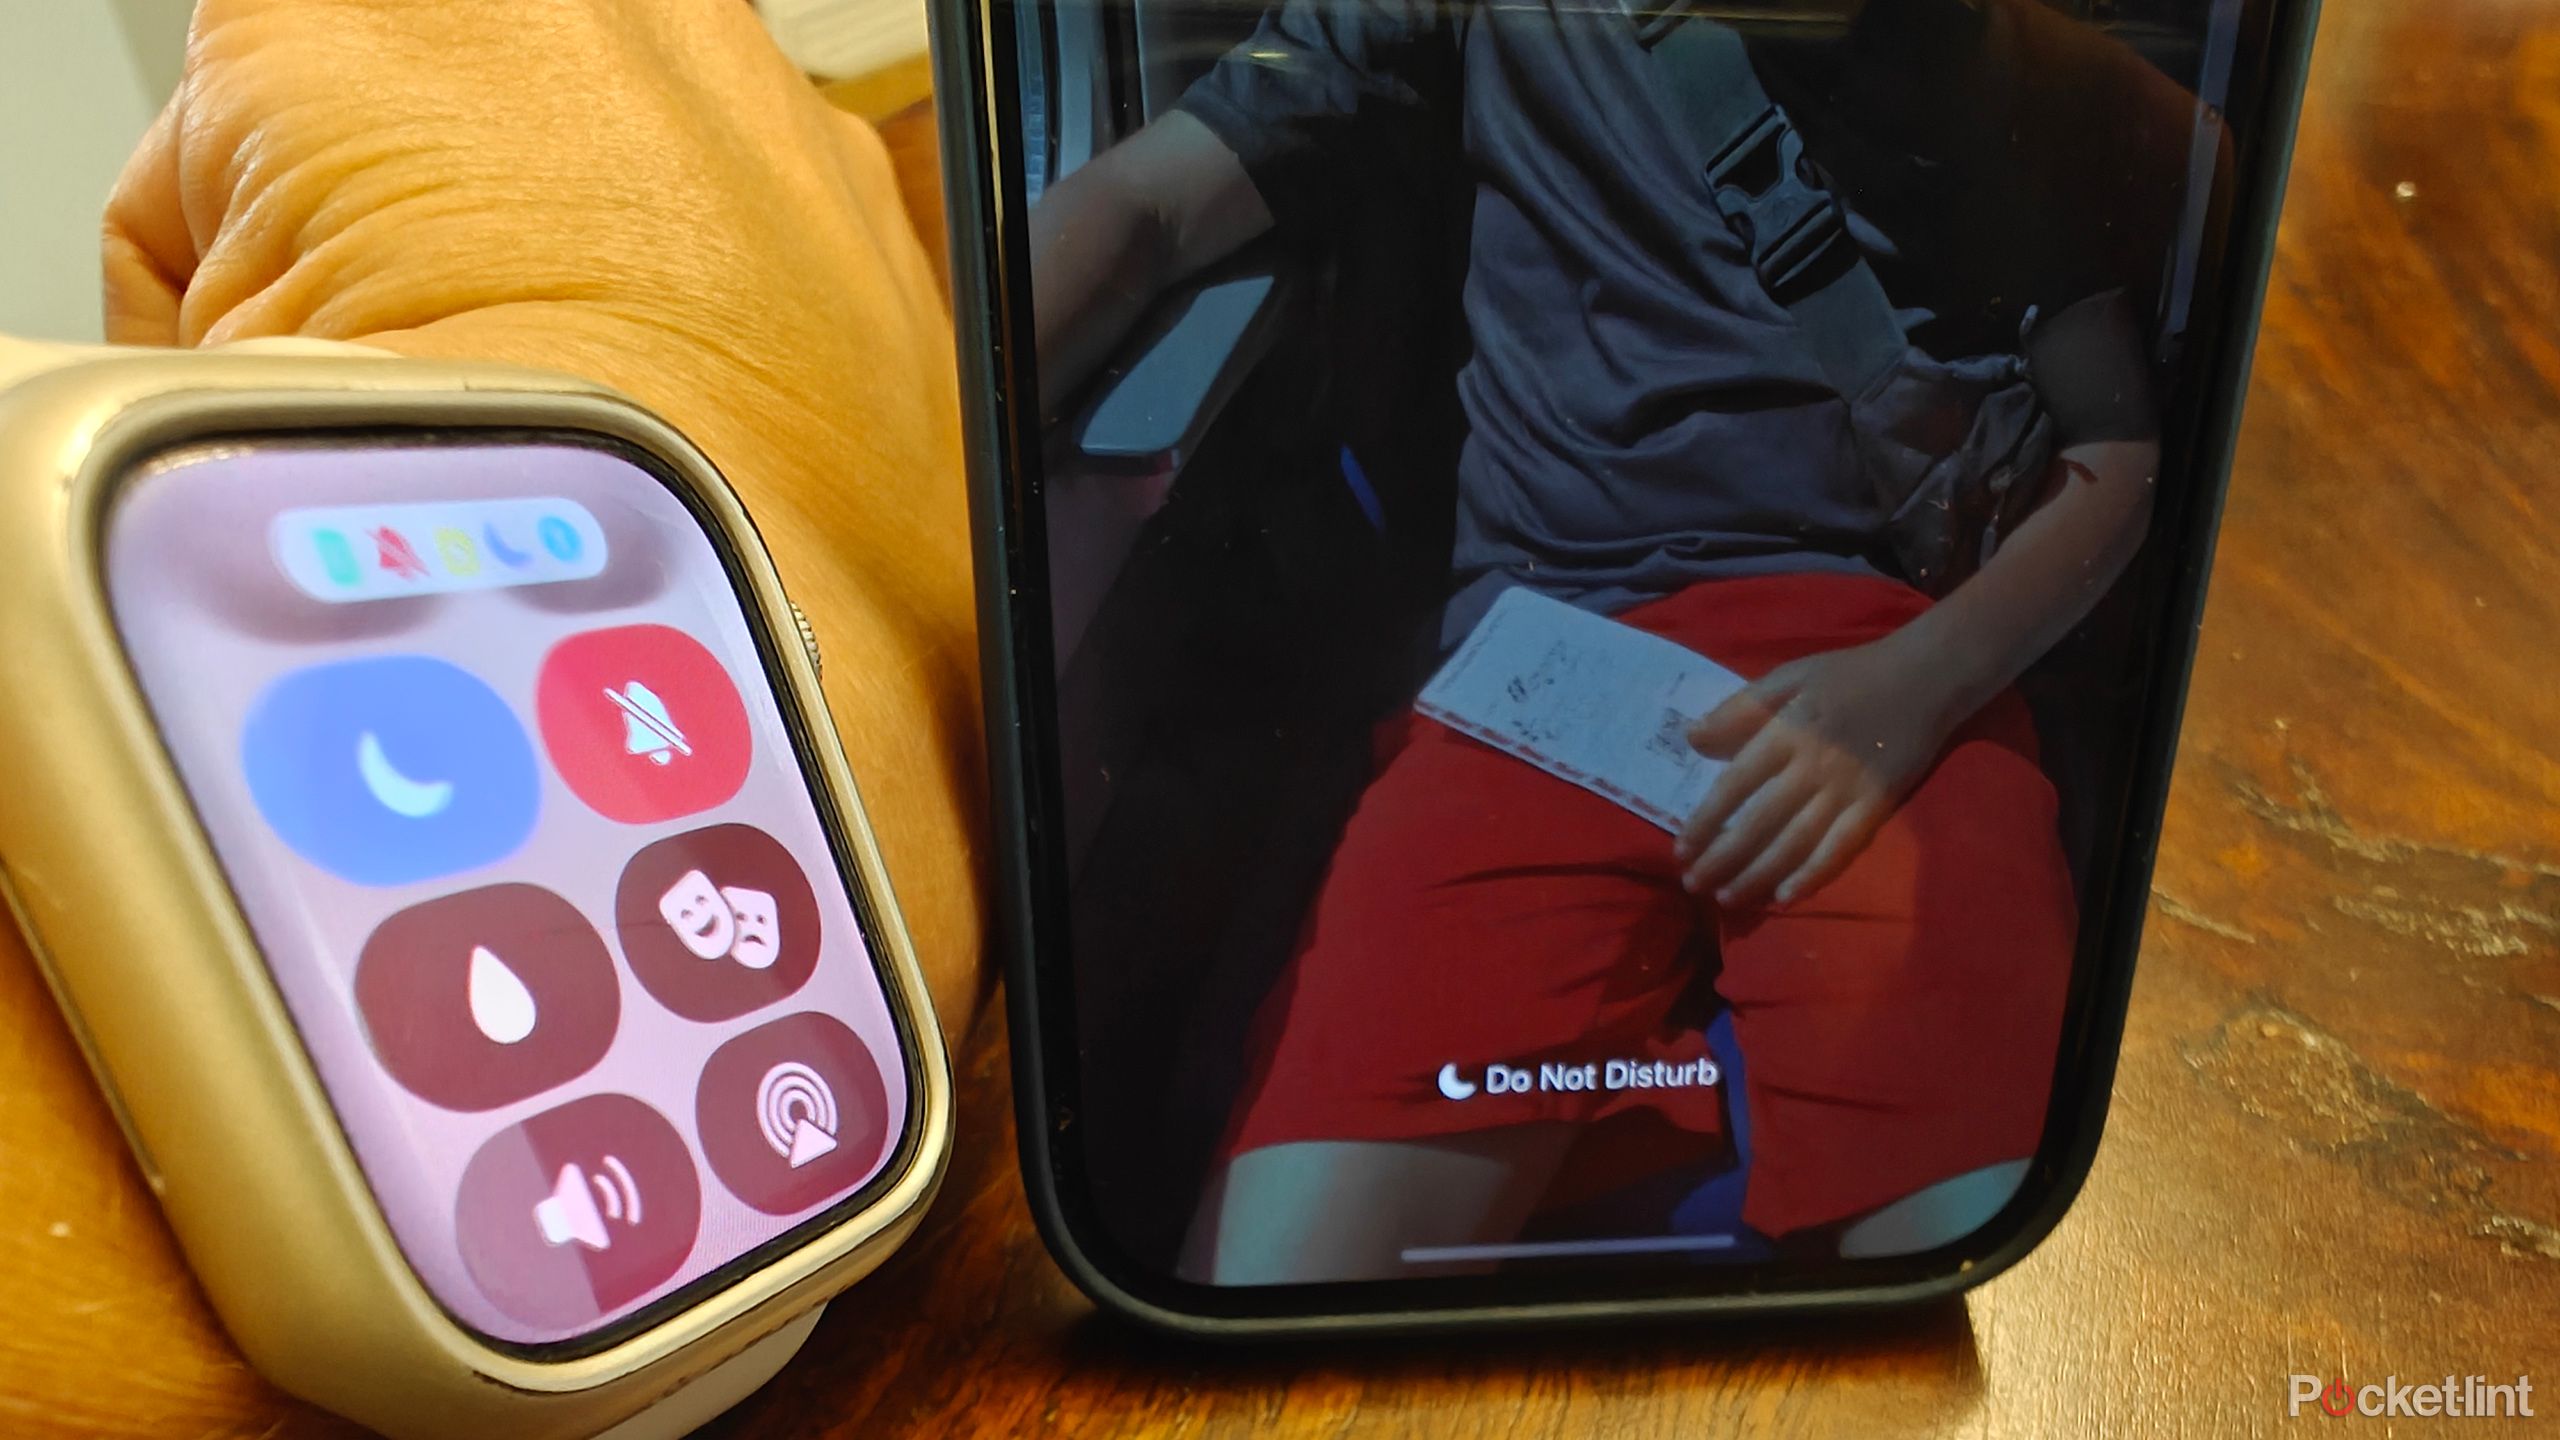
If you put your iPhone into Focus Mode or Airplane Mode, you’ll want your Apple Watch to do the same, and vice versa. To make sure they always work together, set your Watch to mirror what you request on your phone in terms of status and mode. Then, when your iPhone and Apple Watch are within range of each other, your iPhone will go into the same mode you selected on your Watch when you choose.
- open Watch App On iPhone.
- select general.
- under Airplane mode and Focus Modeturn on Mirror your iPhone.
Four Set bedtime and wake-up time
Make sure your sleep tracking is working
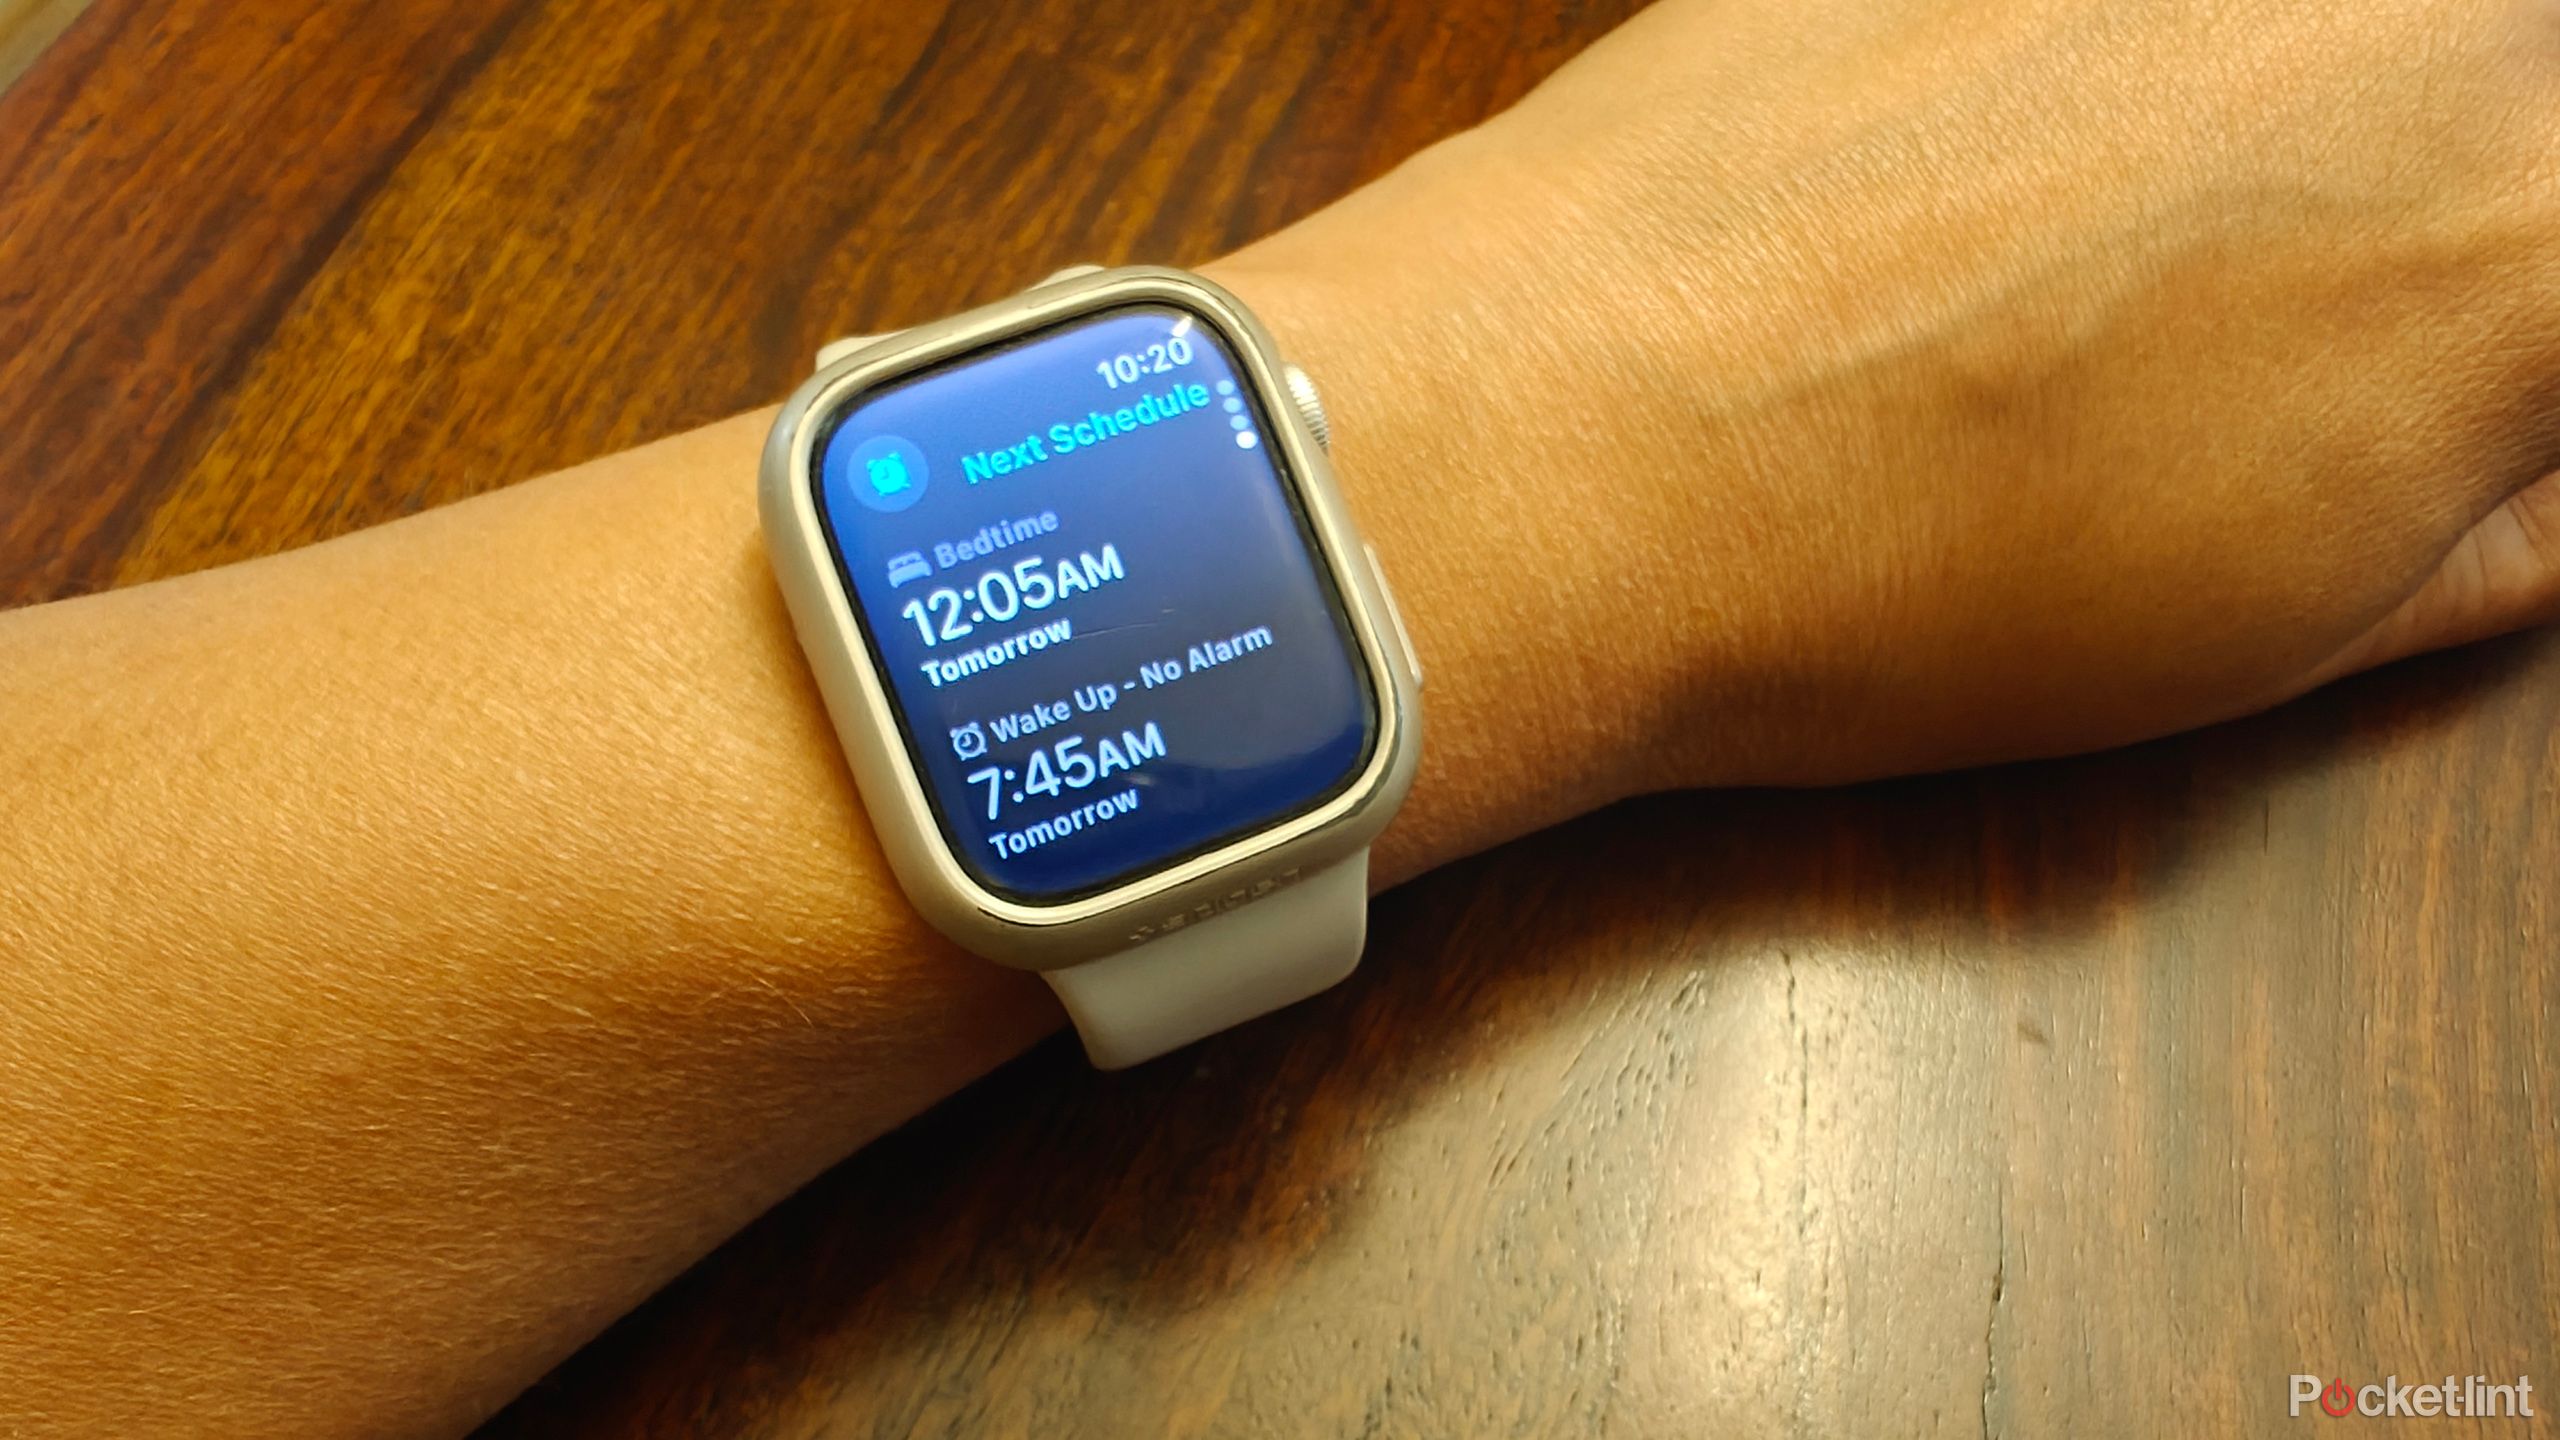
One annoying thing about the Apple Watch is that sleep tracking doesn’t work unless you set up a sleep schedule with your preferred bedtime and wake-up times. You don’t necessarily have to go to bed or wake up at these times. But the Apple Watch uses this schedule to track your sleep and supposedly tries to detect changes in your vital signs around the time you would normally go to bed. You might think this would result in inaccurate readings, but I’ve compared Apple Watch sleep data to many other smartwatches and rings, and while there is some variation in sleep stages, the numbers are generally consistent with each other. Note, however, that the Apple Watch does not track naps.
- open Apple Health App.
- go to References tab.
- select sleep.
- select Your ScheduleUse the image of a clock Bedtime and Wake-up timeYou can also choose a wake-up alarm if you like.
- Tap end when finished.
Related
How to Make a Phone Call on Apple Watch
Did you know you can make and receive calls with your Apple Watch even if you don’t have a Cellular model? This is a handy feature and easy to do.
Five Start with Modest Fitness Goals
Don’t be a hero
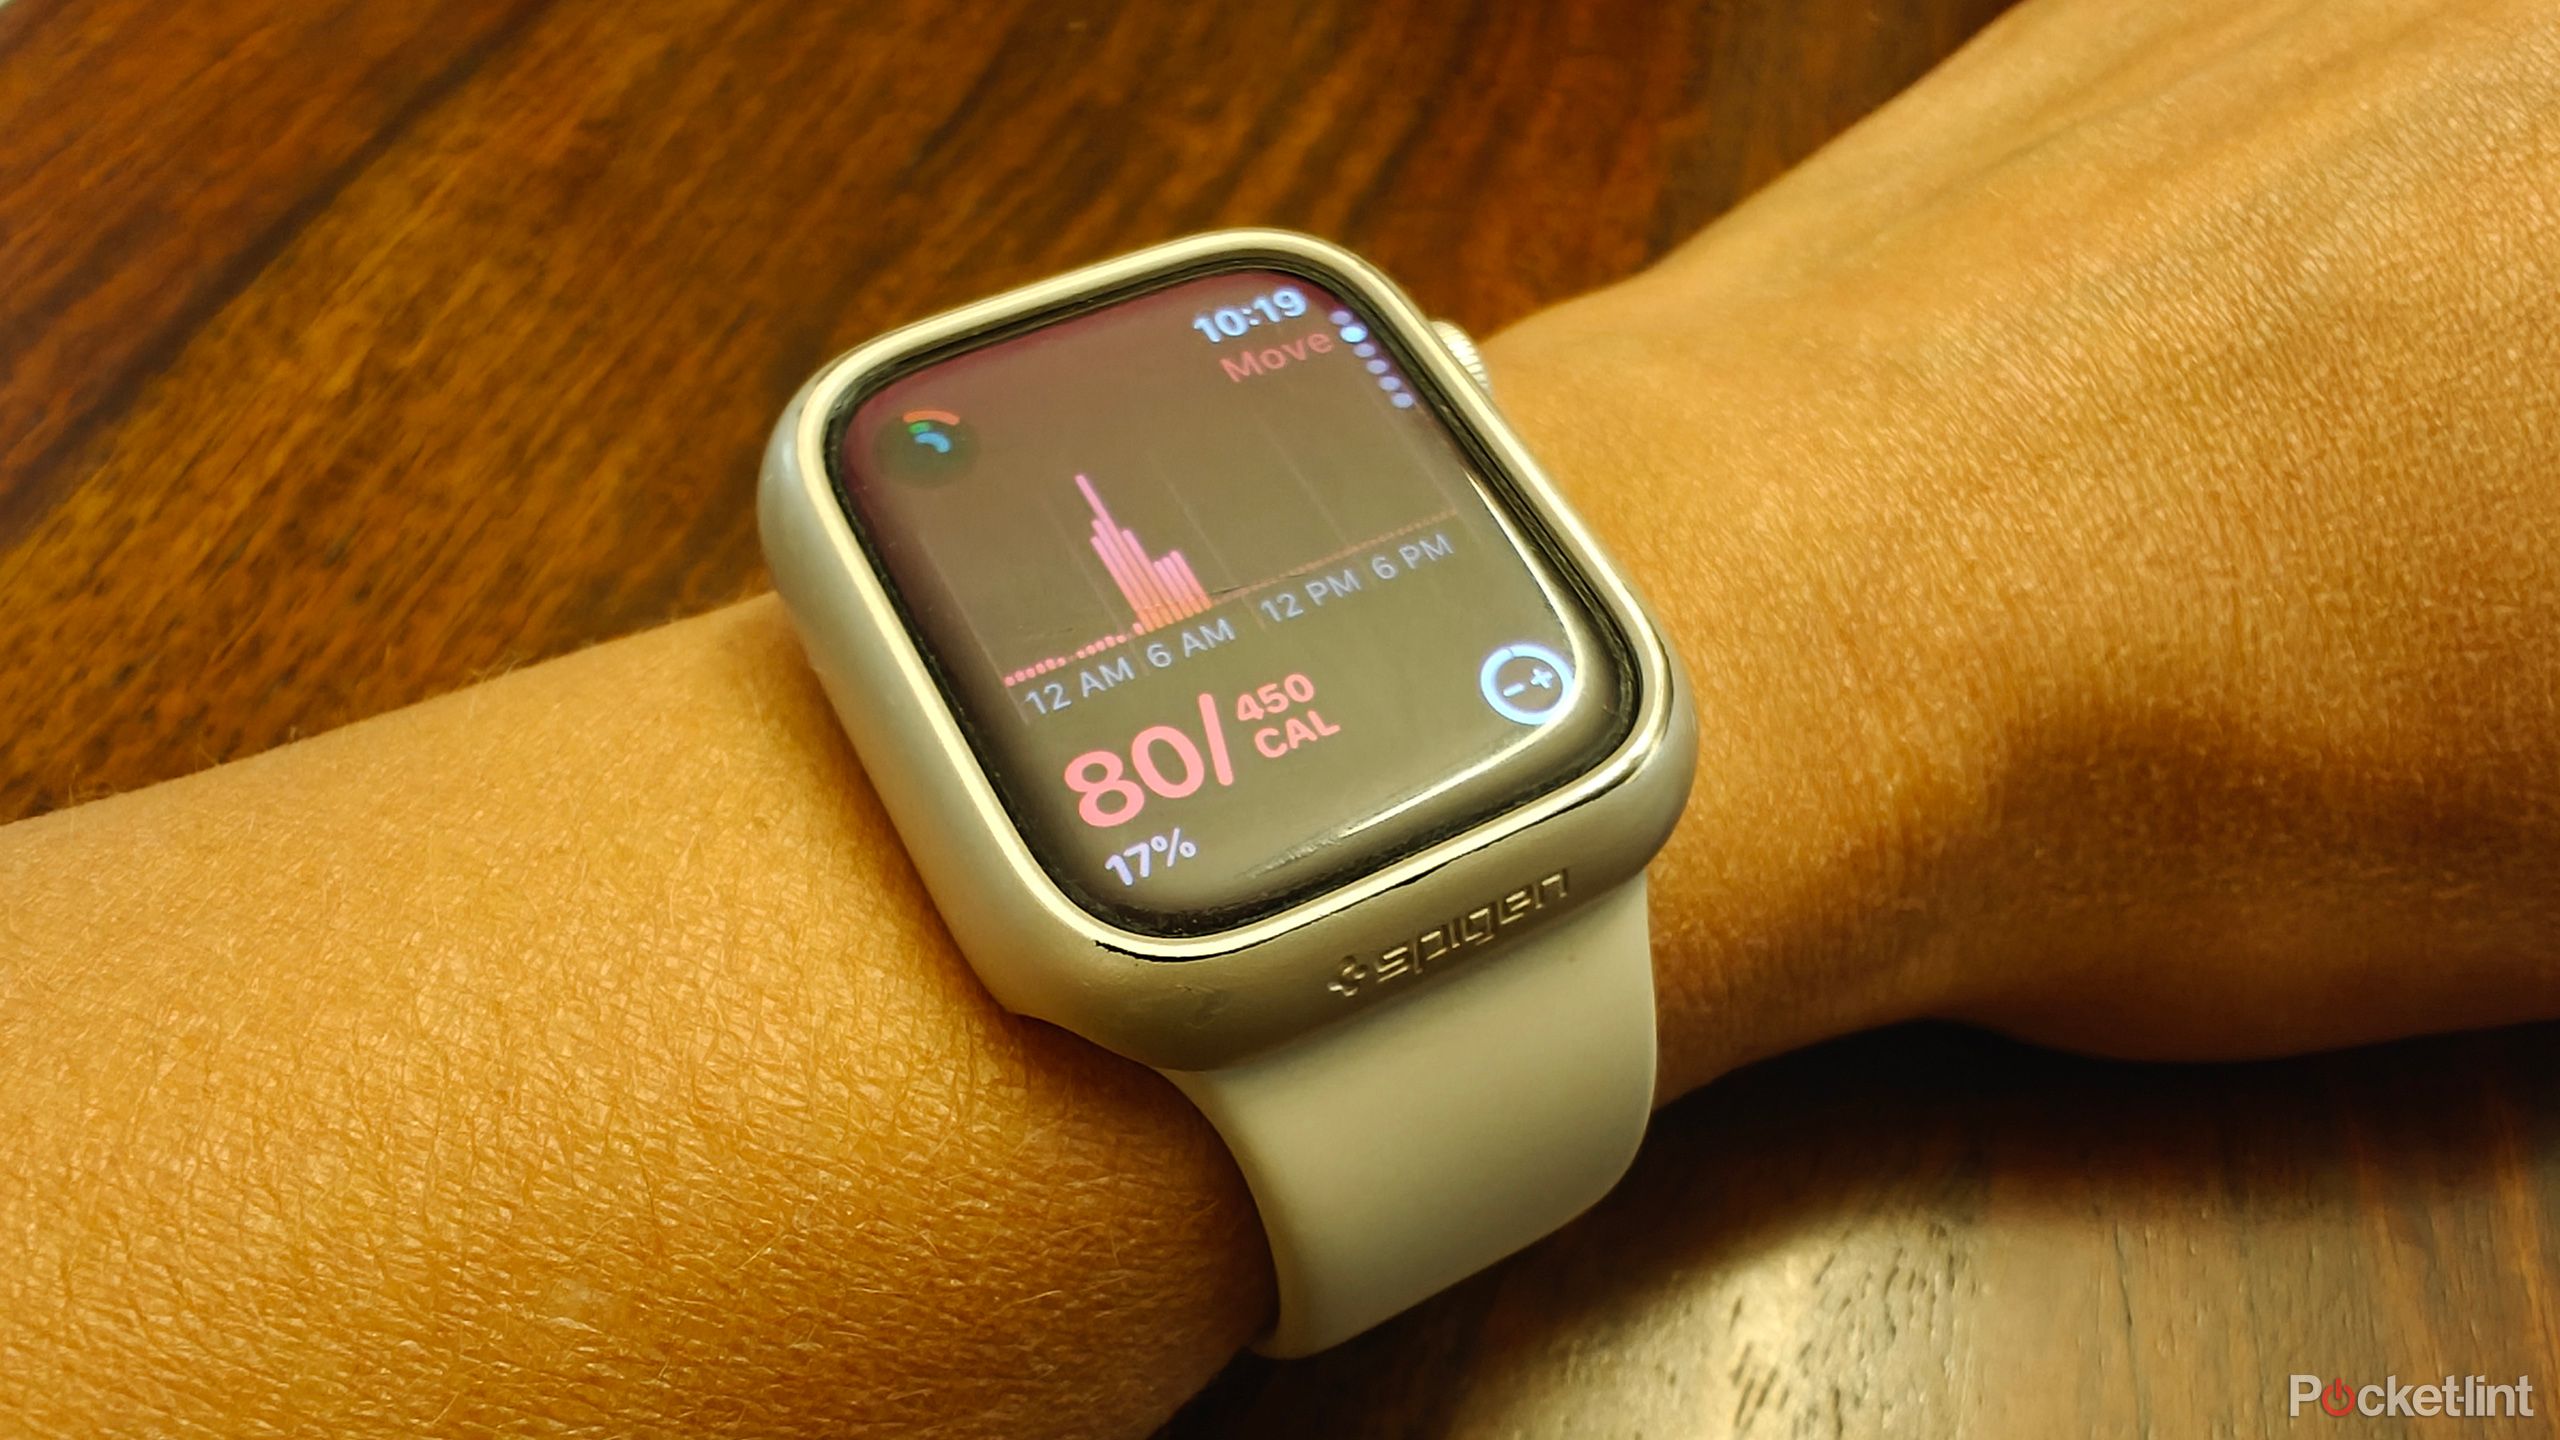
Unless you’re already a fitness guru or seasoned athlete who works out every day, start small with your fitness goals. It may be tempting to set big goals for yourself, but take the time to get used to using the watch and figure out your personal benchmarks, especially if this is your first time wearing a smartwatch. You might think it’s easy to burn 500 calories a day, but trust me, it’s not that easy. Follow the default recommendations for your Move, Exercise, and Stand rings. You can always adjust these when you’re ready to challenge yourself. We recommend gradually increasing your numbers after the first week or two to get a feel for them.
- open Fitness Apps On iPhone.
- please select Profile icon.
- select Changes to goals.
- change Move, exercise every dayand Daily Stand Achieve as many goals as you want.
With watchOS 11, you can adjust these goals for specific days, so you can take Sunday off from working out and set a much lower calorie goal for that day. You can also pause your goals if you’re on vacation or if you’re sick or injured.
6 Add custom quick replies
One-tap access to frequently used replies
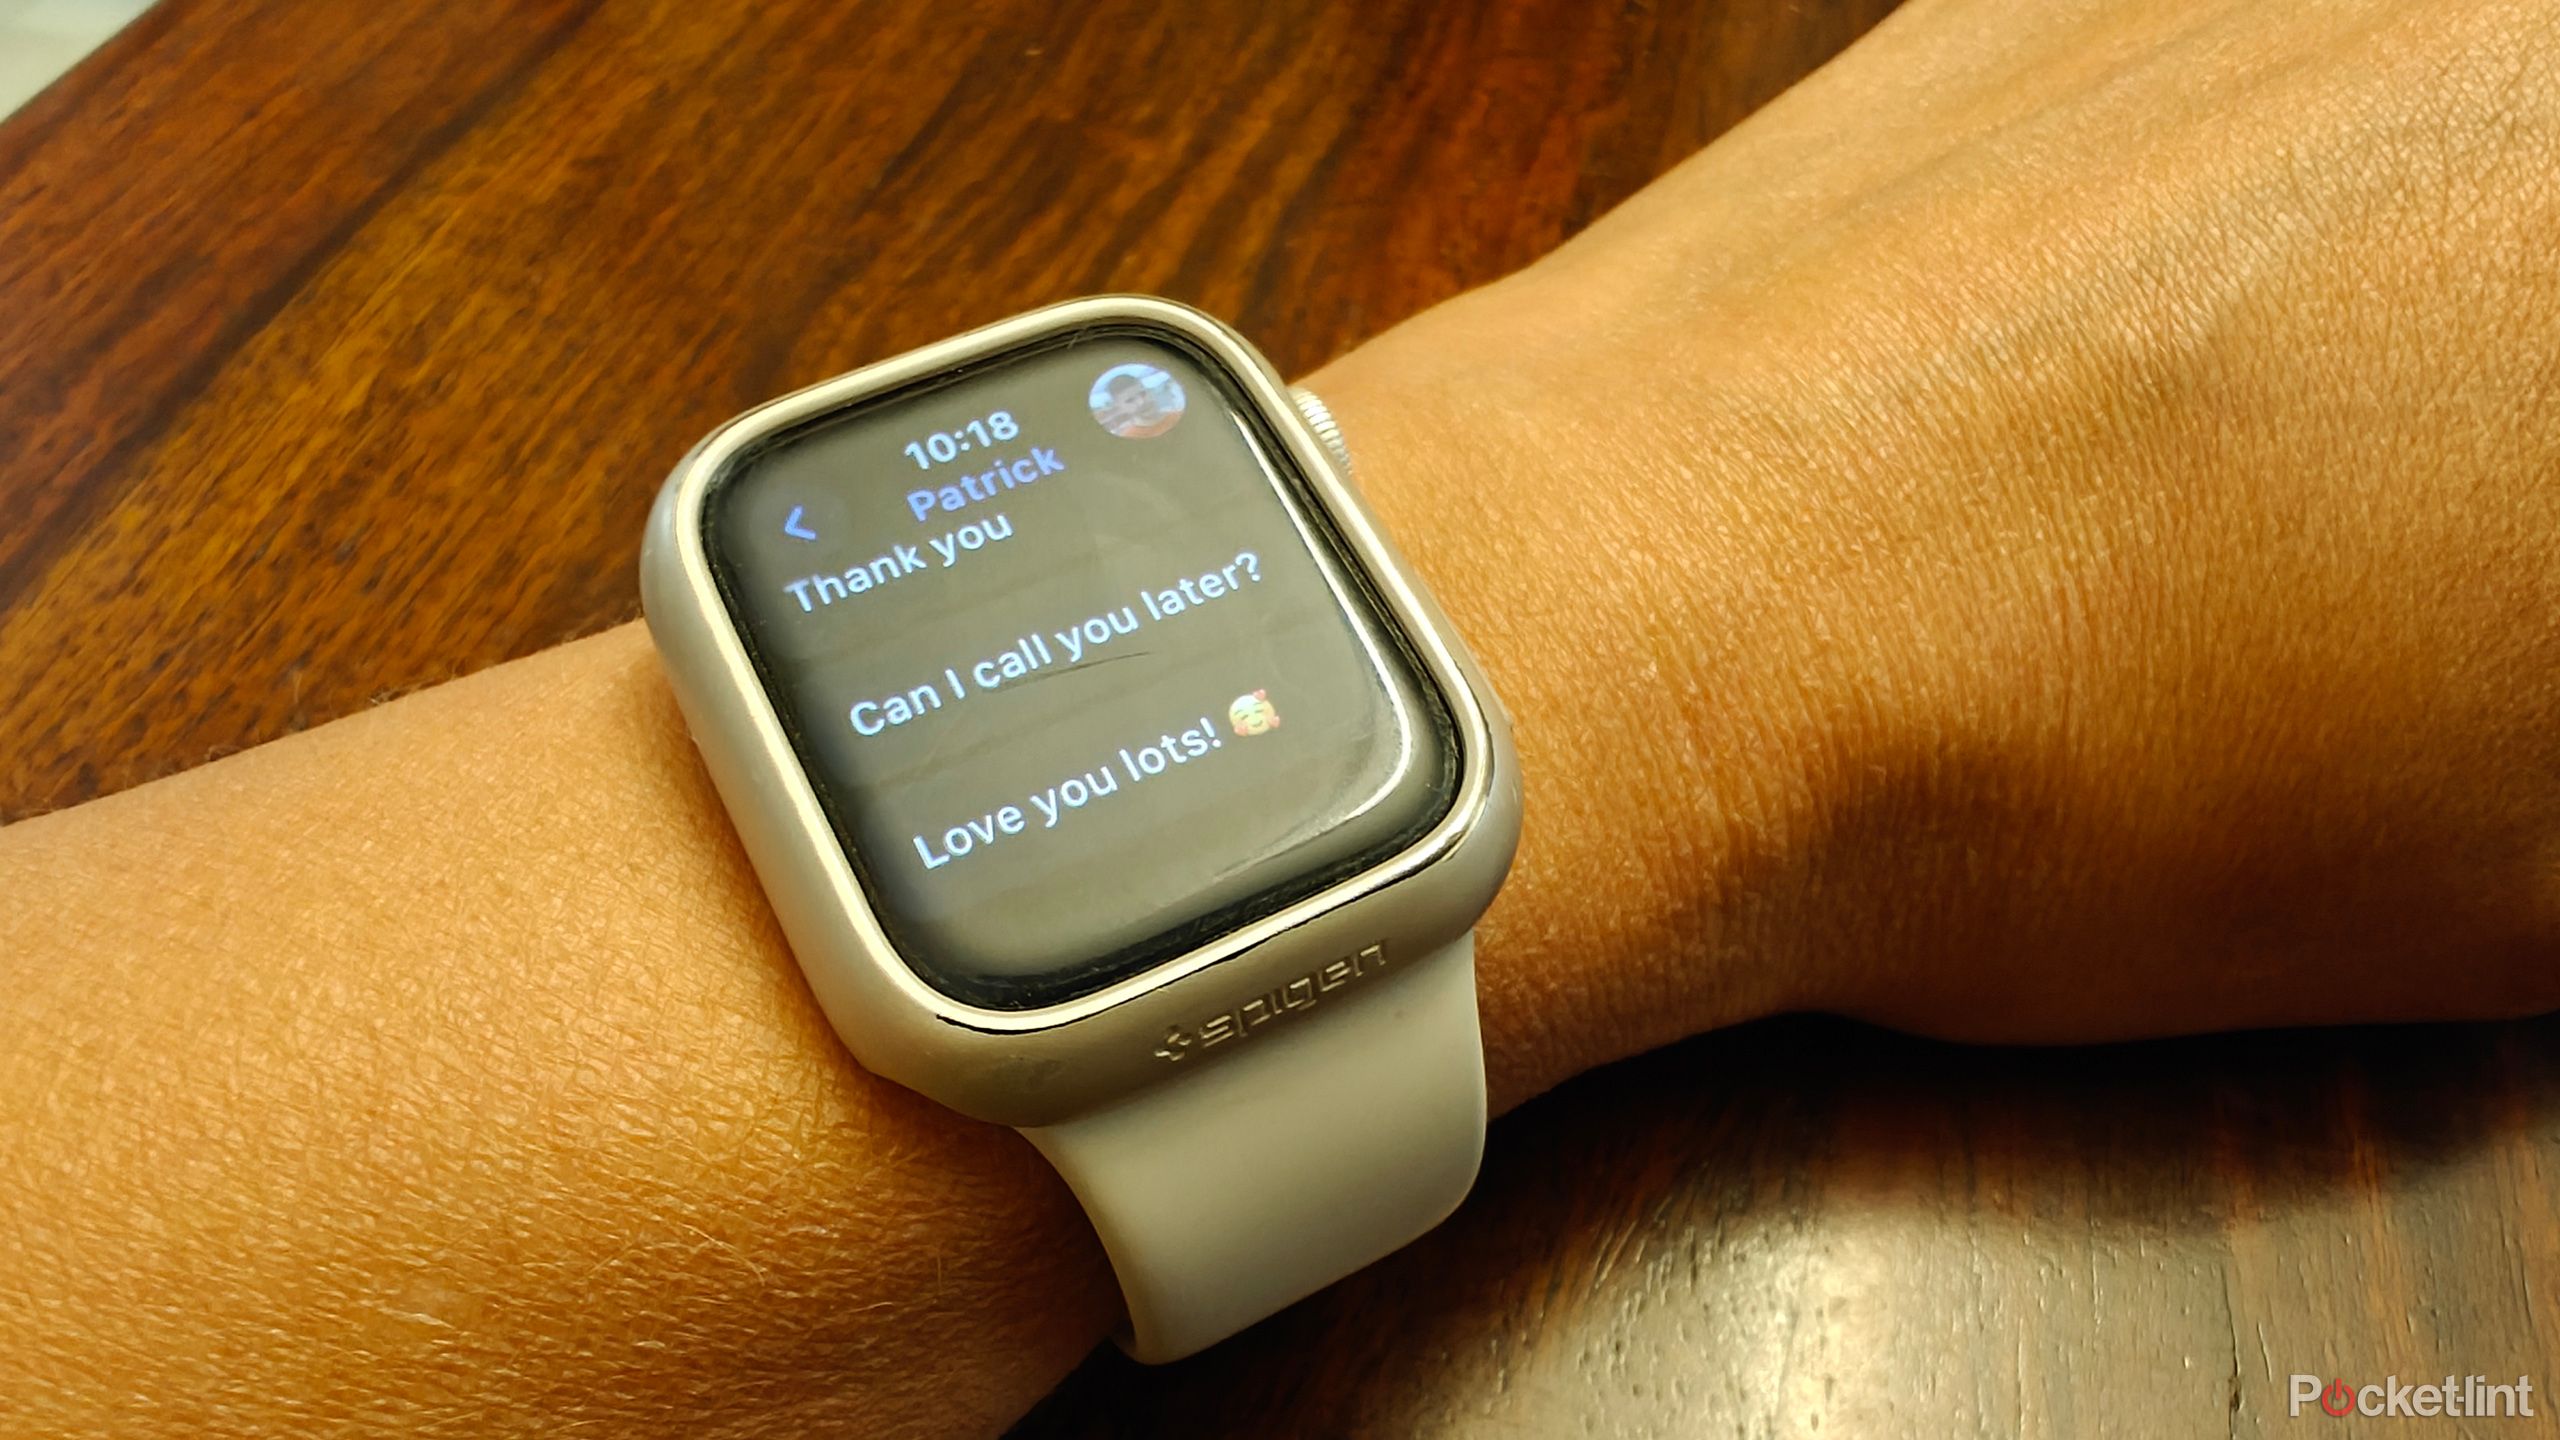
Your Apple Watch lets you see notifications for messages you receive and lets you quickly reply to them. Using the small on-screen keyboard isn’t the easiest or fastest way to reply, so Apple offers Quick Replies. These include basic, common replies like “OK,” “Thanks,” and “Can I call you later?”. There are also suggestions that pop up based on the context of the message, like “Kk thx” and “Ok good.” But did you know you can add your own custom Quick Replies? Use phrases you use often for people you communicate with frequently. You might want to say to a friend or spouse, “I’m working late tonight,” or use cute phrases like “I love you!” for your kids, or just regular reminders like “Feed the dog.”
- open Watch App On iPhone.
- choose My Watch tab.
- Scroll Down message.
- select Default Reply.
- choose Add a reply Enter your text, and you can even include an emoji or two.
Now, when you reply or send a message to someone from your watch, you can scroll through the suggestions and select the one you added.
Related
11 Apple Watch apps you should install and try first
These apps extend the functionality of the Watch beyond what’s available in Apple’s first-party software.


